Affinity Suite
Created by Kamila Klavíková
Tips for Affinity Photo, Designer and Publisher. Links to useful YouTube channels. Updated as I learn more.
#Affinity Designer, #Affinity Photo, #Affinity Publisher, #design, #nástroje, #návod, #tools, #tutorial

Affinity
AffinitySuite
Affinity Designer
Affinity Photo
Affinity Publisher
Olivio Sarikas (has shifted more towards AI tools, but useful)
https://www.youtube.com/@OlivioSarikas/
Affinity Revolution
https://www.youtube.com/@AffinityRevolution/
Lenscraft - Robin Whalley
https://www.youtube.com/@RobinWhalley/
RGB Waveform and RGB Parade
Both shows luminance separated into RGB components.
RGB Waveform shows all components in one graph, but RGB Parade shows them side by side.
Scopes
https://affinity.help/photo2/en-US.lproj/index.html?page=pages/Panels/scopePanel.html&title=Scope%20panel
Vectorscope
Circular chart monitoring an image's color information. Saturation is measured from the center outwards from desaturation to full saturation. The direction indicates the image's hu.
Good for fixing skin color and checking saturation when coloring.
They are small differences between Designer and Photo
You can't edit mask using brush in the Designer Persona in Designer, but you can edit masks created in the Pixel Persona.
Intensity Waveform
Shows luminance values of pixels across the image from left to right.
x axis – position from left to right
y axis – luminance of pixels
Good for fixing exposure, checking contrast and overexposure/underexposure.
How to use scopes in Affinity Photo
Clipping mask
Drag a layer onto the thumbnail of the layer you want to clip.
This works in all three apps, both on the desktop and on the iPad.
Examples
- Create a silhouette by dragging the transparent image onto the fill layer.
- Drag the text onto the image.
I also recommend to check official resources.
Affinity Learning Portal – serves as a hub for the different resources Affinity offers. You can choose by app and platform. Also, you can go to forum or read Affinity Spotlight, blog with inspirational interviews and guides.
How change a layer mask?
InAffinity for Affinity Photo (no new videos, but still useful)
https://www.youtube.com/@inaffinityforaffinityphoto3220/
Copy from Affinity Photo
Ctrl + Shift + C copy flattened all visible layers
Ctrl + C copy layer
For layers
| Alt + click on thumbnail | Change mask |
| Ctrl + click on thumbnail | Create selection from layer |

How to setup tools so it works with layers below?


Specific for Photo
Scott Williams Photography (no new videos, but still useful)
https://www.youtube.com/@ScottWilliamsPhotography
New pixel layer (Ctrl + Shift + N)
Useful shortcuts
| B | brush |
| [ ] | brush size |
| Ctrl + D | deselect all |
| Ctrl + Alt + Shift + N | Create new file from clipboard |
| Ctrl + J | Duplicate layer |
General tips
- focus on
- try different tools
- be patient
Do your changes in a new layer
Chris P Williams (no new videos, but still useful)
https://www.youtube.com/@chrispwilliams6297/
Duplicate layer (Ctrl + J)
Mesh warp tool
Do it before making adjustments
Techniques for removing objects?
Clone tool (S)
Clone from different areas so you preserve structure.
Choose small size.
How to color correct skin?
Skin retouching
- Duplicate layer (Ctrl+J, ⌘-J)
- Apply Frequency separation
- High freq - texture, fix texture, blemishes
- Low freq - color, smooth skin, correct color
- Copy Low freq, on the top apply Gaussian blur and mask face using brush
- Also, you can fix skin color by painting over Low freq. Set brush flow to 3% and hardness to 0%. Sample colors from different spots a lot by Alt (⌥) and click.
- On High freq, you can fix blemishes by using Inpainting Brush Tool. Check you have set source to current layer.
Inpainting brush tool
Magic brush that removes objects from canvas.
Patch tool
Healing brush tool
Hardness
100% hardness – cloned edges will be hard definite.
Generally keep it at 0%.
When working near a defined edge you should increase the hardness. Even then, around 50% will usually do.
Higher hardness creates harsh transitions. These often look unnatural and make it clear you've used the Clone Stamp tool.
How to create a group photo where everybody smiles?
- Use Focus Merge. You can create new from File menu.
- Select from each picture in Resources the best part and clone it using Clone Brush.
The principle is pretty easy and you can get great results quickly.
More info in manual
The original post on Affinity Forum that inspired me to use Focus Merge
(J)
Tips for using guides
Working with tablet
If your tablet doesn't seem precise, you can try to tinker with Tablet Input

Method in Preferences:
- High Precision—provides the best quality high-resolution input data from pen tablets that support it. This input method is not compatible with Wacom's Mouse Mode and certain makers of pen tablet.
- Low Precision—provides low-resolution input data if results from using High Precision and Windows Ink are not ideal. This is enabled by default.
- Windows Ink—provides similar quality to High Precision but is used for tablets without High Precision support. You must enable Windows Ink mode in the tablet driver settings.
PDF import usually includes some layers.
It's useful when, for example, you want to export a board from Freeform and divide it into multiple artboards.
How to scale artboard with the content inside?
- Select Move Tool [V].
- Uncheck Lock Children in the context bar. It should be on the right side of the context bar:

To scale just the artboard, check Lock Children again.
You can't add guide across many artboards.
The workaround is to create a master artboard which contains all other artboards as children.
You can create artboards from selection.

Artboards
Useful for organizing documents. Called frames in Figma.
When you add artboard to an existing document with content, it turns it into an artboard.
By default, it has some properties depending on how you set up the new document. New artboards are the same size as the document by default, but can be any size.
https://affinity.help/designer/en-US.lproj/index.html?page=pages/Artboards/artboards_about.html?title=About%20artboards
If brush strokes doesn't look as expected in SVG export, expand them.
There is no way to set a shortcut for creating artboards from selection (v2.1).
How to add padding (iPad)?
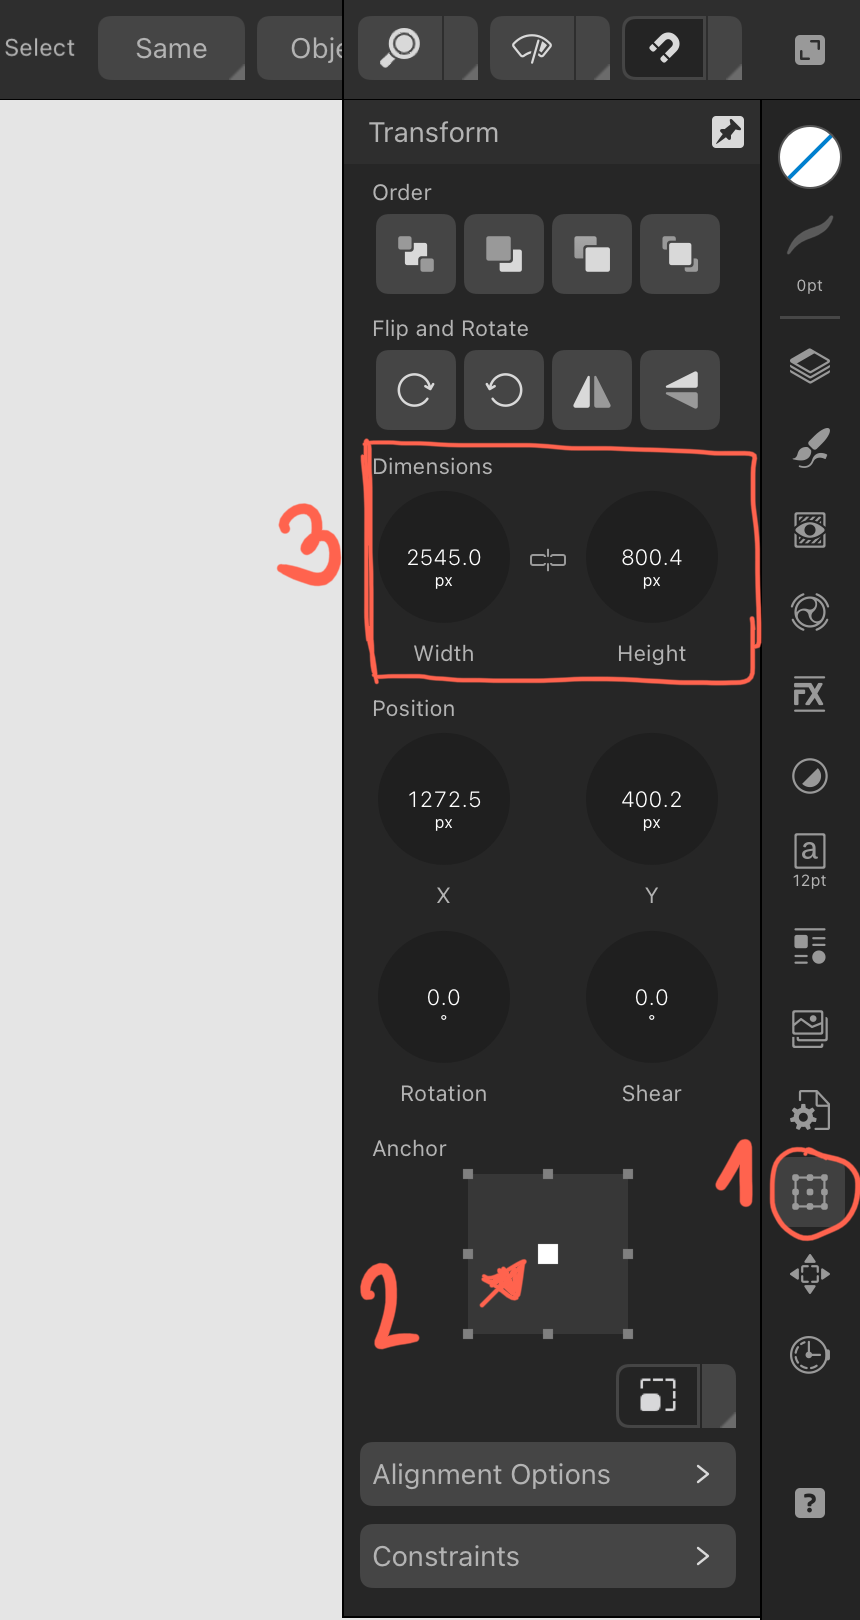
- Switch to Transform.
- Set Anchor to center.
- You can add padding by writing +[dimension].
Note: You can't add padding to many artboards at the same time. It creates weird stuff.

Data merge – you can generate multiple business cards, certificates… from one file using csv, Excel table or json.
https://affinity.help/publisher/en-US.lproj/index.html?page=pages/Advanced/dataMerge.html?title=Data%20merge
New useful tools in Designer 2.0
Knife tool – can easily cut the object(s) into multiple layers
Shape builder tool – easy to create complex shapes from simple shapes, building on top of classic combinations of two objects
Vector warp – useful for changing perspective and various deformations
Hidden features
Unofficial PDF Manual - Expert Guide to Affinity Publisher
https://forum.affinity.serif.com/index.php?/topic/191879-unofficial-pdf-manual-expert-guide-to-affinity-publisher/
I have learnt a ton about print from it. It's created in Affinity Publisher itself. Not only it clearly explains the functions but it gives useful tips for work in general.
How to create a tri-fold brochure?
- Choose paper size. Set margins.
- View → Guides… → Column guides
- Columns: 3
- Gutter should have the same size as margin.
Don't forget
- Expand stroke (otherwise it may not show as intended)
- Convert text to curves (because of font compatibility)